Author Archives: Scott Alfter
Getting what they voted for, good and hard
Too bad the consequences of their idiocy spill over into Nevada, which gets its gas from California. Time to get more serious about diversifying our sources, perhaps?
California Faces High Pump Prices As Phillips 66 Shuts LA Refinery (ZeroHedge)
Cheatsheet: automated subtitle generation from the command line
I ran across this post on running Whisper WebUI under Docker a while back and had it up and running for a while. Something broke in a recent release, though, and I tend to prefer command-line tools for things, so I went looking for alternatives.
The tools Whisper WebUI runs under the hood have command-line equivalents available. In particular, there’s insanely-fast-whisper-cli. Getting it running wasn’t particularly difficult…if anything, it was easier than getting GPU compute running within Docker containers:
git clone https://github.com/ochen1/insanely-fast-whisper-cli
sudo mv insanely-fast-whisper-cli /opt
sudo chown -R $(whoami) /opt/insanely-fast-whisper-cli
python -m venv /opt/insanely-fast-whisper-cli
source /opt/insanely-fast-whisper-cli/bin/activate
pip install -r requirements.txt
pip install torch==2.7.0 torchvision==0.22.0 torchaudio==2.7.0 --index-url https://download.pytorch.org/whl/cu126
cat <<EOF | sudo tee /usr/local/bin/whisper-cli
#!/usr/bin/env bash
source /opt/insanely-fast-whisper-cli/bin/activate
python /opt/insanely-fast-whisper-cli/insanely-fast-whisper.py "$@"
EOF
sudo chmod +x /usr/local/bin/whisper-cli
This uses a downgraded torch (v2.7.0) that I need to use whisper-cli with my GeForce GTX 1070. If you have a newer card, you can probably leave out the pip install torch==2.7.0... bit.
Once all this is in place, you can then use something like whisper-cli foo.avi to produce foo.srt.
You might find sometimes that background music confuses Whisper. There’s another tool for that: vocal. Installation is even simpler:
sudo mkdir /opt/vocal
sudo chown -R $(whoami) /opt/vocal
python -m venv /opt/vocal
source /opt/vocal/bin/activate
pip install vocal
pip install torch==2.7.0 torchvision==0.22.0 torchaudio==2.7.0 --index-url https://download.pytorch.org/whl/cu126
cat <<EOF | sudo tee /usr/local/bin/vocali
#!/usr/bin/env bash
source /opt/vocal/bin/activate
vocali "$@"
EOF
sudo chmod +x /usr/local/bin/vocali
vocali -i in.mkv -o in.mp3 will produce a file with all of the background music stripped out. Vocals will be retained, as will anything spoken in a normal voice.
Cheatsheet: encrypt the root filesystem on an existing Arch Linux install
Worried that your notebook might fall into the wrong hands, but you didn’t encrypt / when you set it up? This will fix it.
This cheatsheet makes a few assumptions:
- Your computer uses EFI, not legacy BIOS.
- You’re using an EFI boot stub to boot, not GRUB or some other bootloader.
- You are not using a unified kernel image.
- You’re using a busybox-based initramfs, not a systemd-based initramfs.
- Your root filesystem is btrfs-formatted and doesn’t use subvolumes.
The boot device in my computer is /dev/nvme0n1. /dev/nvme0n1p1 is the EFI system partition, which gets mounted as /boot. /dev/nvme0n1p3 is the btrfs root filesystem for my Arch Linux install; its label is arch_root and /etc/fstab is set to mount by label. Substitute appropriate values for your system wherever you see these.
- Boot from an Arch ISO. Current versions of SystemRescueCD are based on Arch and should also work.
- Mount the root filesystem:
mkdir /mnt/arch && mount /dev/nvme0n1p3 /mnt/arch - Shrink the root filesystem. This will be an iterative process. First, examine the output of
btrfs filesystem usage -b /mnt/arch. There should be a line with something like “(min: some-number)” in it. Resize the filesystem with the negative of that number:btrfs filesystem resize -some-number /mnt/arch. Repeat both commands until the second one returns an error; at this point, the root filesystem is shrunk to its minimal size, which ought to speed up the encryption step. - Unmount the filesystem:
umount /mnt/arch - Encrypt the filesystem:
cryptsetup reencrypt --encrypt --reduce-device-size 32M /dev/nvme0n1p3. You’ll be prompted for a passphrase. This will need to be entered every time you boot your computer, so a long random string from a password manager, while secure, is probably not a good idea from a usability standpoint. Also, this phase will probably take a while. I shrunk the root filesystem down to about 90 GB, and with the Core i7-1165G7 in my Framework 13, encryption took about a half-hour. - Mount the encrypted filesystem:
cryptsetup open /dev/nvme0n1p3 recrypt && mount /dev/mapper/recrypt /mnt/arch - Expand the filesystem back to use the rest of the partition:
btrfs filesystem resize max /mnt/arch - Mount the EFI partition and chroot into your Arch install:
mount /dev/nvme0n1p1 /mnt/arch/boot && arch-chroot /mnt/arch - Edit /etc/mkinitcpio.conf. There’s a line that starts with
HOOKS=. Look forblockwithin that line, and addencryptafter it. - Regenerate the initramfs:
mkinitcpio -P - Get the UUIDs of the encrypted container and the decrypted filesystem:
ls -l /dev/disk/by-uuid. This directory has symlinks to the actual device nodes, so the one pointing to /dev/mapper/recrypt is the decrypted filesystem UUID (we’ll call it fs_UUID) and the one pointing to /dev/nvme0n1p3 is the encrypted container UUID (we’ll call it enc_UUID). - Update the EFI boot config. First, use
efibootmgr --unicodeto find your existing Arch boot entry. Make note of any existing kernel command-line options, then delete it with something likeefibootmgr -b 1 -B(if your boot entry was labeled Boot0001). Then, create the updated entry with something like this:efibootmgr --disk /dev/nvme0n1 --part 1 --create --label "Arch Linux" --loader /vmlinuz-linux --unicode 'initrd=\initramfs-linux.img cryptdevice=UUID=enc_UUID:recrypt:allow-discards root=UUID=fs_UUID rootflags=rw zswap.enabled=0 rw rootfstype=btrfs' - Exit the chroot and reboot. Enter your passphrase (from step 5) when asked.
References
Arch Linux Wiki: dm-crypt: Encrypt an existing unencrypted file system
Arch Linux Wiki: dm-crypt: Unlocking in early userspace
Resize btrfs filesystem to the minimum size in a single step
LUKS encryption with EFISTUB boot?
Cheatsheet: configure Nextcloud external storage from the command line
As a workaround for this problem that has cropped up in recent versions of Nextcloud, I needed to figure out how to configure external storage from the command line. This is a short list of commands I’ve found useful.
(I’m running the Docker image provided by Nextcloud, modified to support SMB. Samba runs in another container on the same host. Replace the italicized text with appropriate values for your installation.)
List external shares for a user: docker exec -u 82 nextcloud php occ files_external:list username
(The first column will list an ID that is needed for some commands.)
Create an external share:docker exec -u 82 nextcloud php occ files_external:create --user username share_name smb password::password -c host=samba_hostname -c share=samba_share_name -c root= -c domain=samba_domain -c user=samba_user -c password=samba_passord -c case_sensitive=true
Enable sharing:docker exec -u 82 nextcloud php occ files_external:option id enable_sharing true
Delete a share:docker exec -iu 82 nextcloud php occ files_external:delete id
(You’ll need to confirm that you want to do this…hence docker exec -i.)
Scan for files within a share:docker exec -u 82 nextcloud php occ files:scan -p /username/files/share_name username
(I haven’t needed to do this after creating a share, but YMMV.)
A blast from the past
I got around to imaging the hard drive from my Apple IIGS this morning. The drive, a 4.3-GB Seagate Barracuda 4LP (purchased used 20 or so years ago to replace the smaller drive I had been using), was hooked up to an Adaptec AVA-2902 on an old Pentium III motherboard I saved from a computer that was otherwise scrapped. The image found its way onto an SD card, which I read into my computer. With a bit of slicing and dicing with CiderPress, I had the image booting into the IIGS emulation in MAME. I then started poking around to see what kind of stuff I still had in there.
Back in the early ’90s, I was the newsletter editor for the Apple user group (both Apple II and Macintosh) in Las Vegas. My IIGS was actually a IIe at the time, but fairly well equipped with a 10-MHz accelerator, a 40-MB SCSI hard drive, a mouse, and a whopping 1 MB of RAM. This ran a desktop-publishing program called PublishIt! fairly well. It’s what I used to produce the newsletter. I’d paste up the articles and columns and render them to a PostScript file that I’d take into school to print. I was attending UNLV at the time; I’d dial in, upload the file, and send it to the laser printer in the computer lab. I’d pick up the printout, take it to one of the local OfficeMax-type stores, and have them produce a few dozen copies to mail out to the members.
Today, I pulled up the last newsletter I produced, dated March 1993. I loaded it into PublishIt! on an emulated IIGS in MAME, rendered it to PostScript (had to make sure “LaserPrep” was included), and shut down the emulator. I extracted the file from the disk image with CiderPress and converted it from PostScript to PDF with Ghostscript. This is the result:
https://alfter.us/wp-content/uploads/2025/06/snafug-newsletter-9303.pdf
The disk image was also put onto a BlueSCSI, from which my IIGS (I still have it) can boot. The BlueSCSI is smaller and lighter than the hard drive, and getting data on and off it is as simple as pulling the MicroSD card and manipulating the image files in CiderPress.
Keep your Windows 10 system on Windows 10: block the Windows 11 upgrade
Just a quick reminder to myself that I can look up as I roll back the handful of Windows 11 installations I have to Windows 10 (for the small handful of purposes that I need to keep any sort of Windows around at all). Save the following to a file named win11block.reg and import it into the registry to keep Windows Update from trying to put Windows 11 on your Windows 10 system:
Windows Registry Editor Version 5.00

[HKEY_LOCAL_MACHINE\SOFTWARE\Microsoft\WindowsUpdate]
"ProductVersion"="Windows 10"
"TargetReleaseVersion"=dword:00000001
"TargetReleaseVersionInfo"="22H2"
Sanity prevails

Now this is not the end. It is not even the beginning of the end. But it is, perhaps, the end of the beginning.
Winston Churchill
Running a Collabora server behind caddy-docker-proxy
Just a quick cheatsheet-ish post as I figure out how to move my home server off nginx and onto caddy-docker-proxy, which I hope will make configuration easier in the long run. Figuring out what labels to attach to get Caddy to do what I want is a minor stumbling block.
In this case, it’s working with the Collabora server that my Nextcloud instance uses to enable online editing of office-type files. The sticking point is that the server complains if Nextcloud connects over plain HTTP, but Caddy (though which Nextcloud will connect) complained about the Collabora server’s self-signed SSL certificate.
This docker-compose.yml is what I ended up using:
services:
  collabora:
    image: collabora/code
    container_name: collabora
    restart: unless-stopped
    environment:
      extra_params: --o:ssl.enable=true
    networks:
      - www
    labels:
      caddy: collabora.alfter.us
      caddy.reverse_proxy: https://collabora.www:9980
      caddy.reverse_proxy.transport: http
      caddy.reverse_proxy.transport.tls_insecure_skip_verify:

networks:
  www:
    name: www
    external: true
The “www” network connects Nginx and Caddy (eventually just Caddy) to all of the containers to be proxied. The first two labels are pretty normal, but the last two are what tell Caddy to ignore Collabora’s self-signed certificate. The part of the Caddyfile that handles collabora.alfter.us ends up looking something like this:
collabora.alfter.us {
  reverse_proxy https://collabora.www {
    transport http {
      tls_insecure_skip_verify
    }
  }
}A quick little project
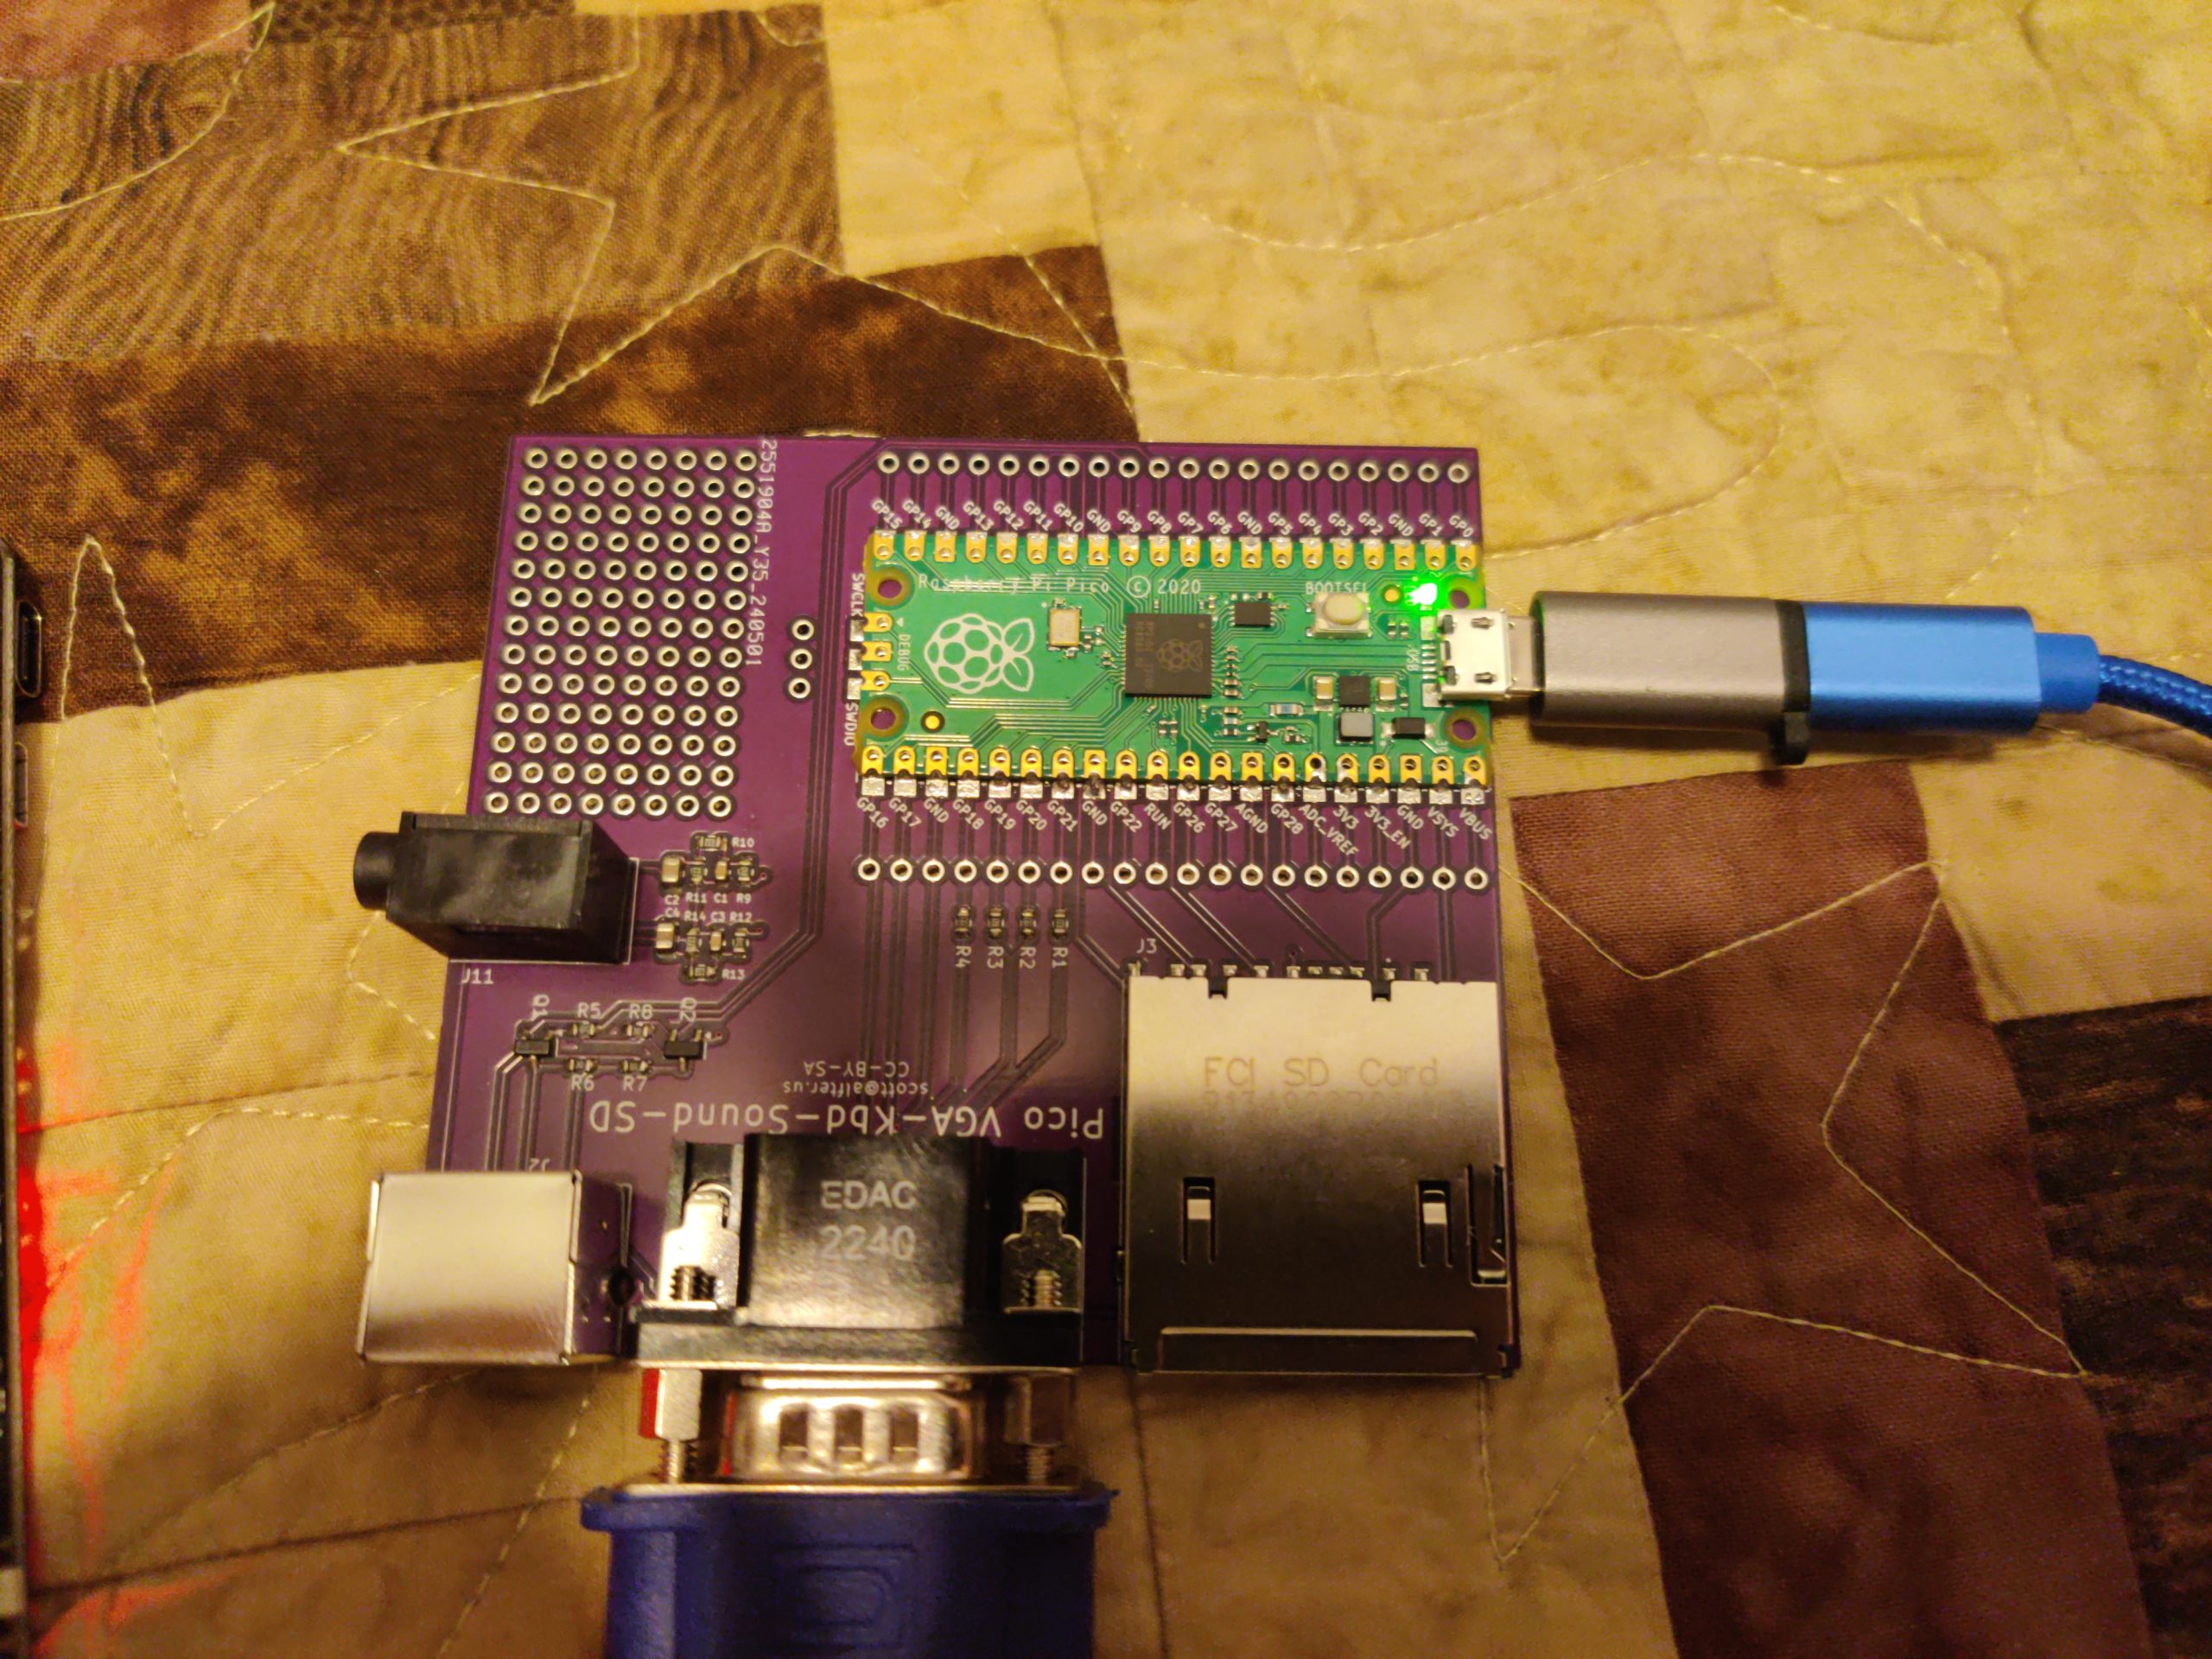
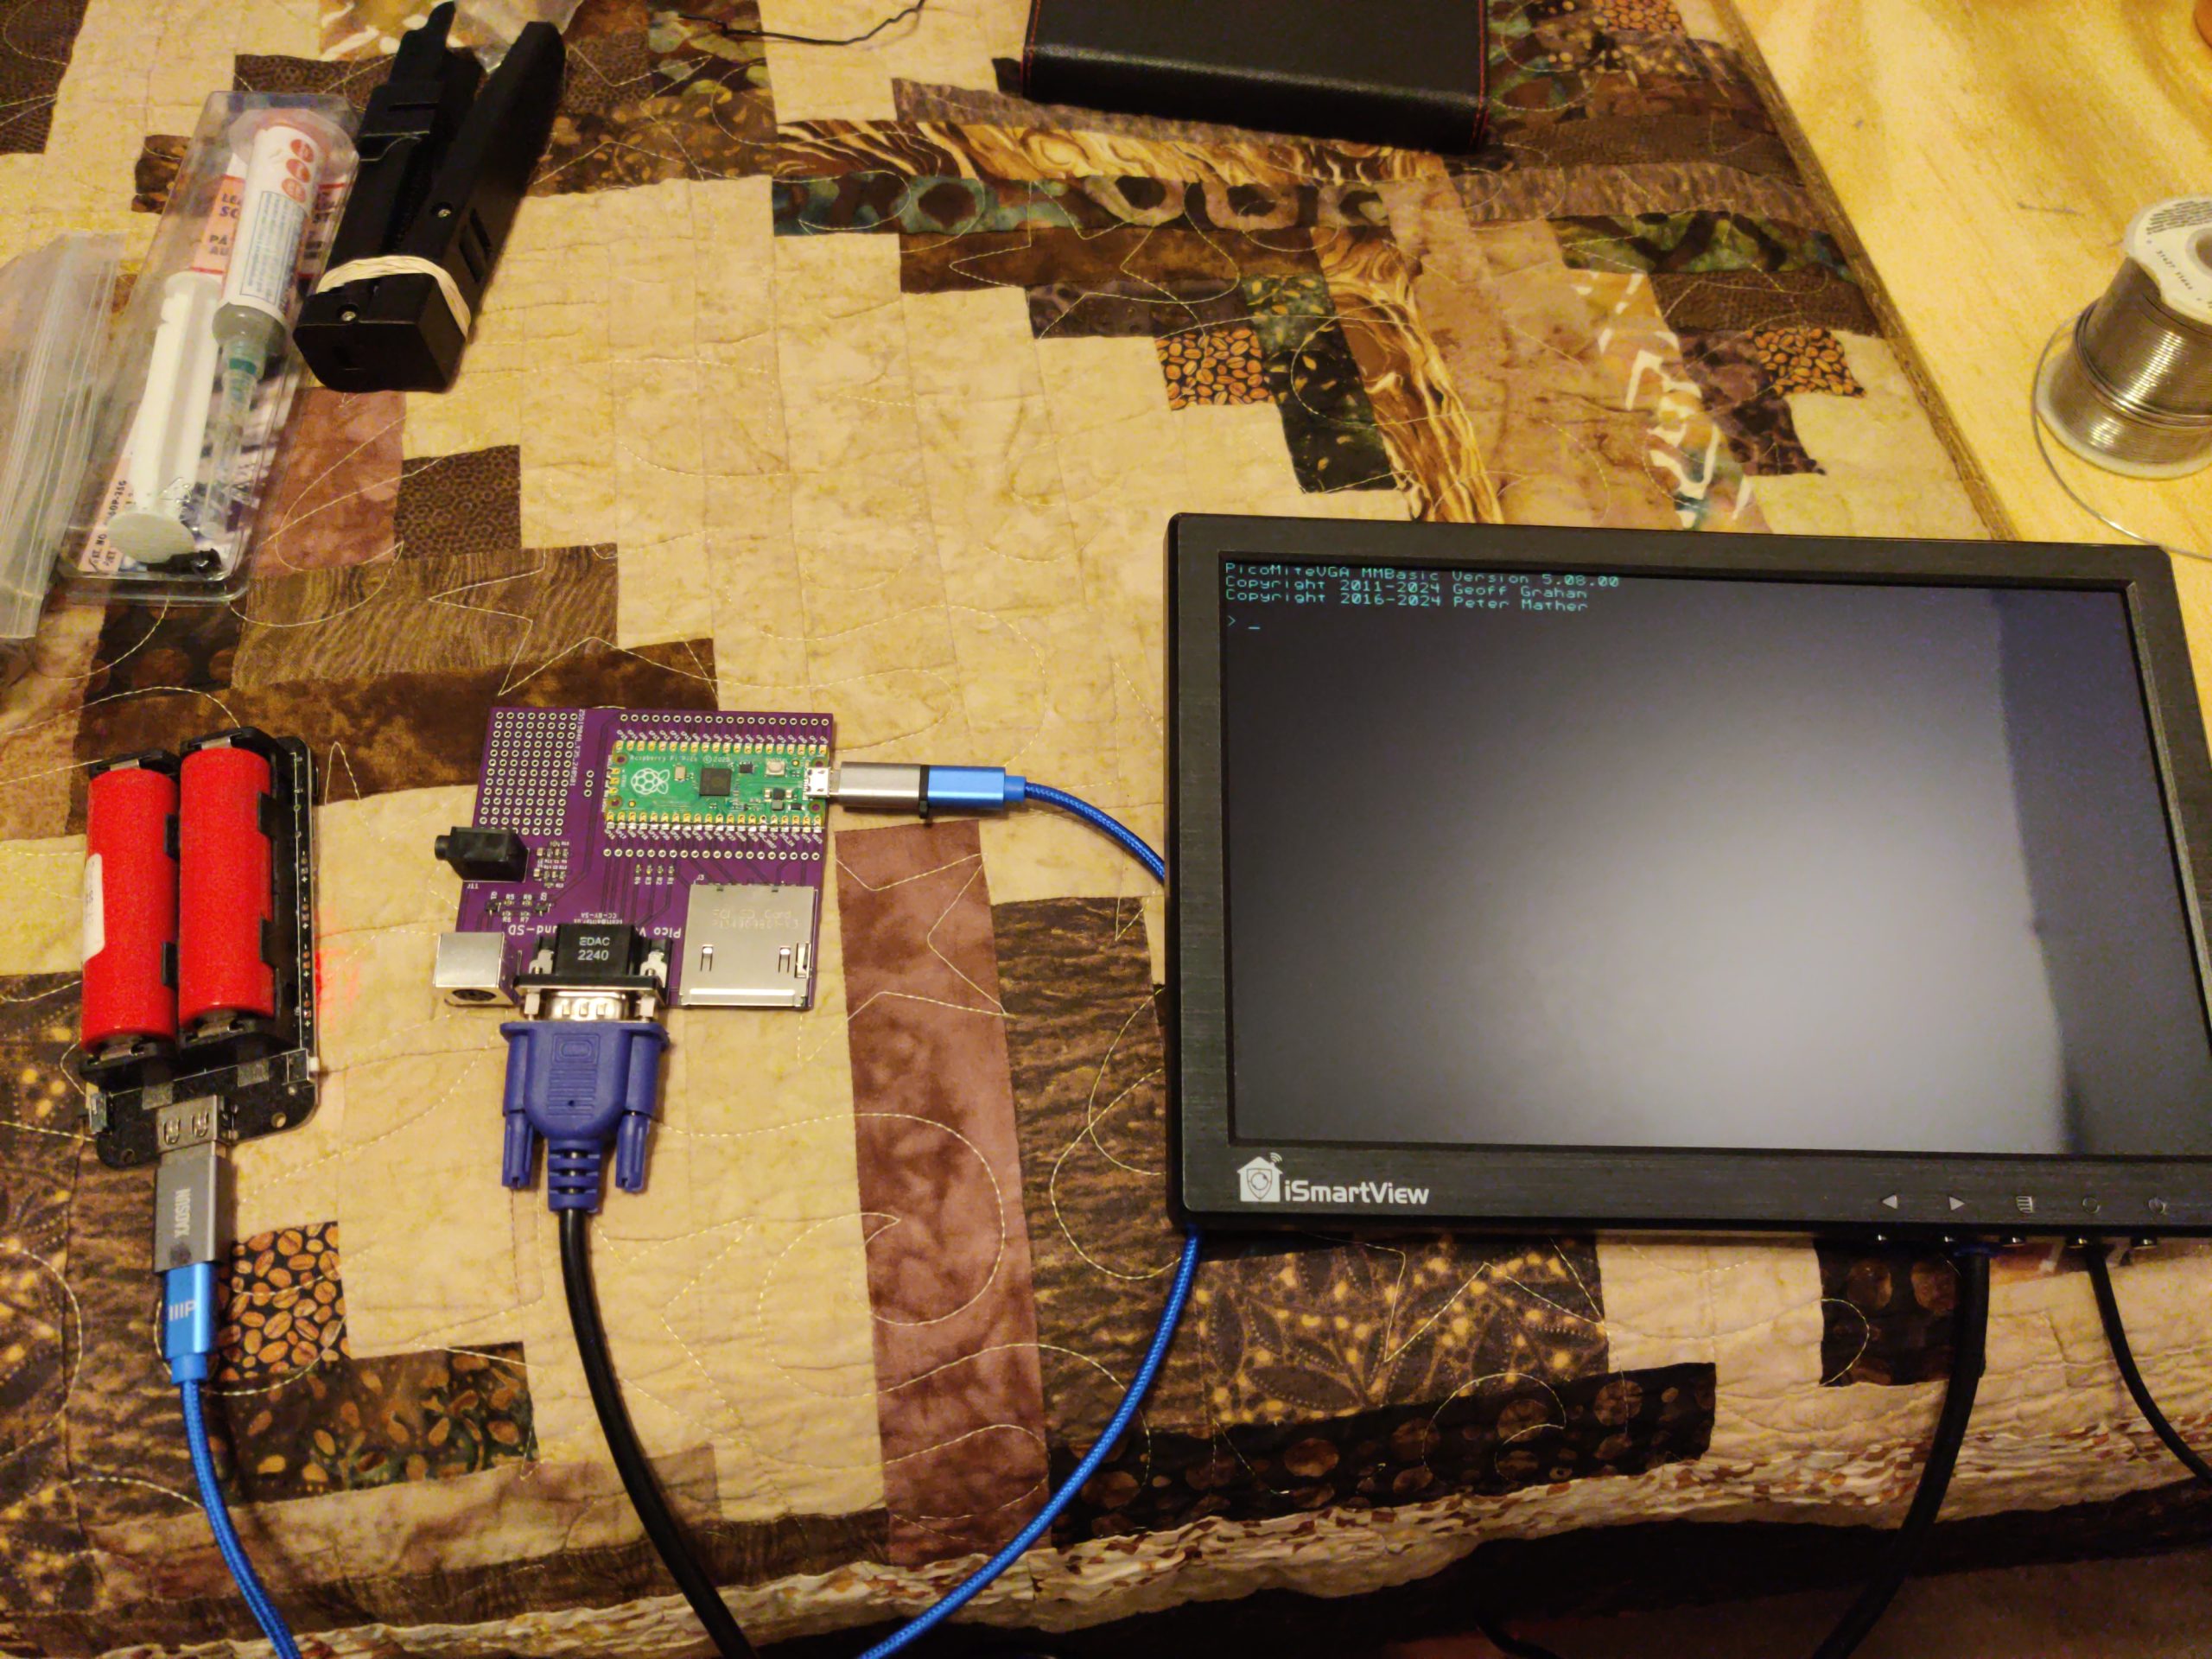
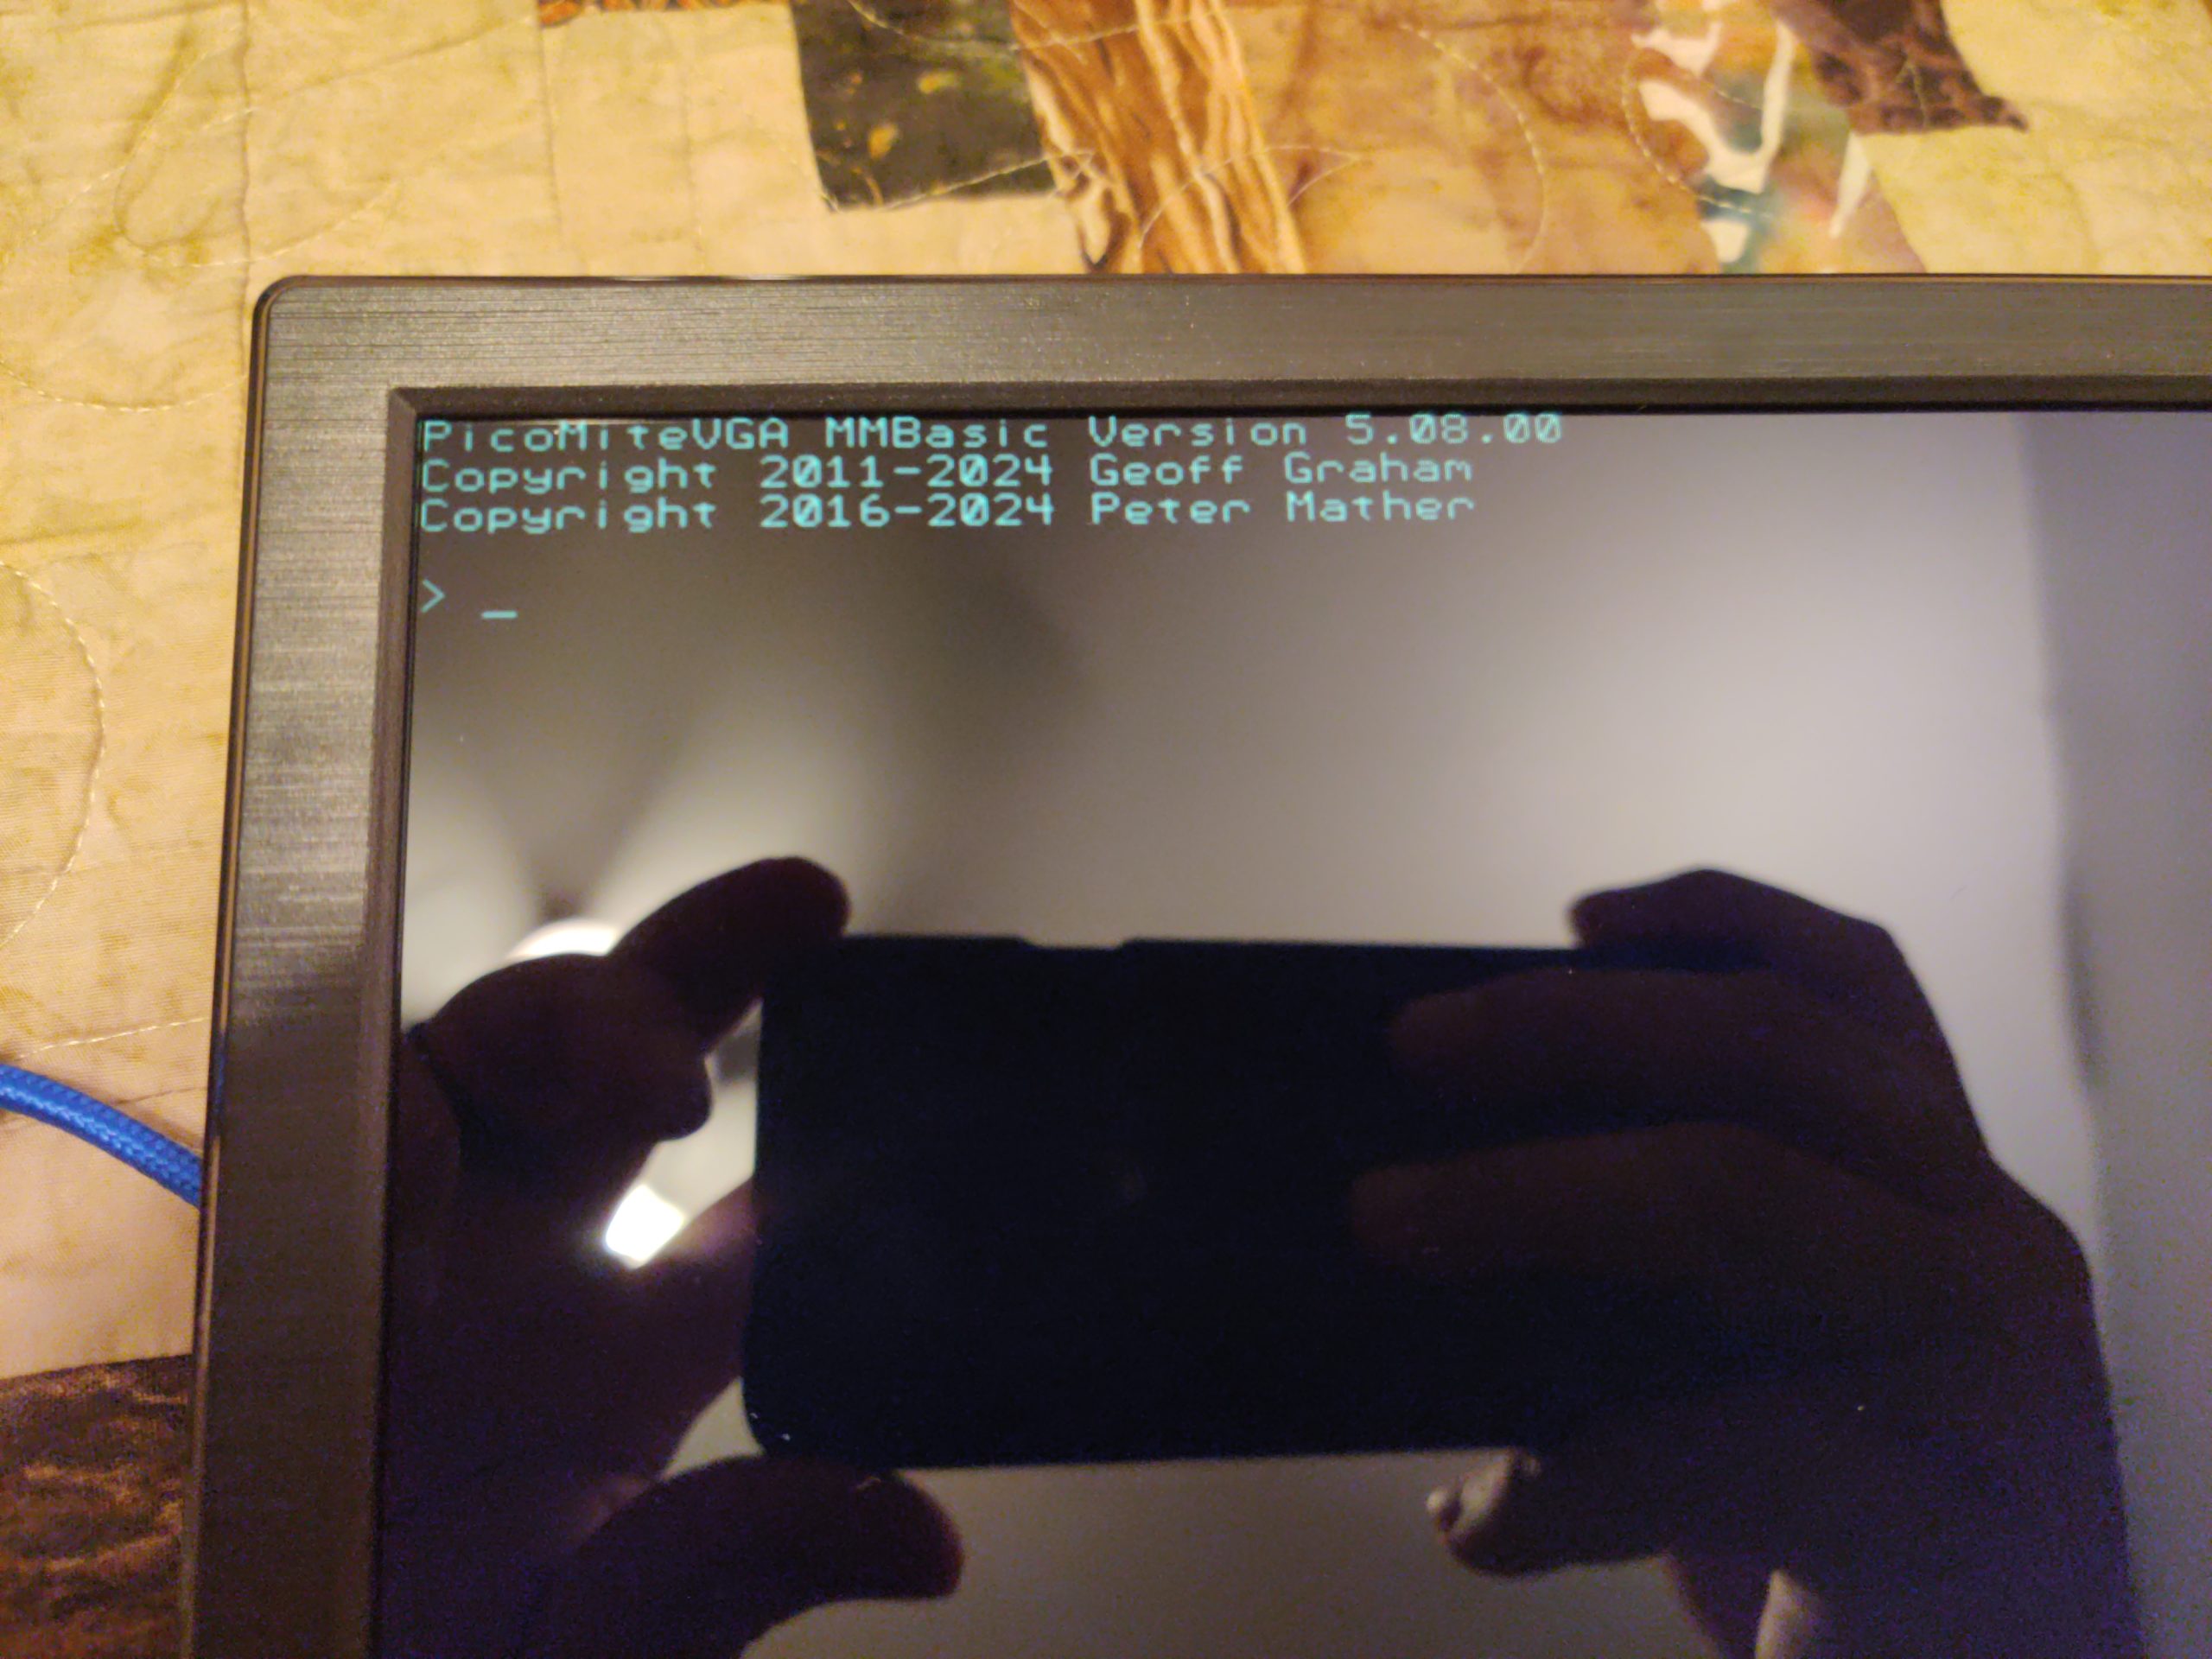
Only thing missing is the keyboard, though I threw some one-liners at it through the USB port, which shows up as a serial interface. This is a single-board computer that boots to a BASIC prompt, like the 8-bitters of ~40 years ago. It’s built around a Raspberry Pi Pico, produces VGA video output, and has an SD-card slot for program storage and a PS/2 keyboard jack. It’s a PicoMiteVGA implementation that I knocked together fairly quickly and sent out for manufacturing.
I have parts to build four more. They might show up on Tindie, once I verify that the keyboard input works. The KiCad files are over here.